T-nut for Prusa Mini extrusions (groove 8, type B, M4 thread)
Description
PDFUpdate 04.01.2022
This design was highly popular ever since I made it on a long winter night. Despite the fact that it required manual thread cutting to get it's M4 inner thread, users of the Prusa Mini liked it a lot. That was reason enough for me to take the extensive trial-and-error to get a perfect M5 thread printed on a Pursa Mini. From now on, I recommend you go for the new design with printed M5 thread, unless you insist on having a M4 thread.
https://www.prusaprinters.org/prints/112867-t-nut-with-m5-thread-for-pursa-mini-extrusions
Story behind the original design
I was really fascinated by the z-axis support for the Pursa Mini, which was initially posted here
https://www.prusaprinters.org/de/prints/32054-prusa-mini-z-axis-support-brace
and then further improved and posted here
https://www.prusaprinters.org/de/prints/42318
The only thing that bothered me was the fact that I did neither have the mentioned M5x12 screws nor the M5 t-nuts for the aluminum extrusions of the Prusa Mini. Spending significant money, just to get 4 screws and 4 t-nuts seemed as kind of defying the purpose of our do-it-yourself culture.
But I had M4x10 screws and figured they would do the job very well, if... yes if I had T-nut screws that fit into the extrusions of the Pursa Mini and have a M4 thread.
So... I designed this, based on the blueprints of the metal T-nuts which are being sold on the internet. I did not print the thread, but left the respective core diameter, to use a M4 thread cutter once the print is done to cut the thread. This gives really unexpected strength. I was very surprised that I could tighten the screw so strongly without breaking the part or ripping the thread out.
Just to show that it works, I have mounted the z-axis support with one single screw, forward facing on the z-axis. Unfortunately I can't show in the pictures how much I tightened the screw. (And yes, of course I know that this is not how the z-axis support must be mounted, I did this just for illustration purposes.)
Print instructions
Print the t-nut on the side to significantly improve it's strenght. If you print it upright, you will put all the load on the layer to layer adhesion.
I recommend to print the t-nut from PETG, which is something I generally do for all mechanically functional parts. It may work in PLA as well, but that is not tested.
I am not sure if the part would stick well enough to the print bed without a brim, therefore I have used one. The print is very fast anyway and the brim is removed easily and quickly with a little side cutter.
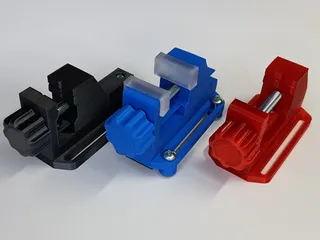
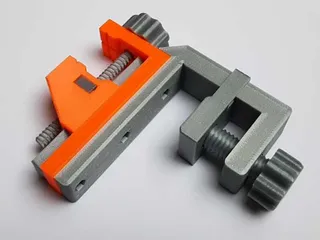
For cutting the thread with a thread cutter, I do recommend to clamp the part in a vice that squeezes the part from the side. First of all that will hold the part nicely while you cut the thread. And secondly it will compensate the outward forces created by the thread cutter. For me the process of cutting the threads seemed very simple and robust.
License:
The license does not allow derivatives, as one of my designs in the past was “taken” from me to collect donations on Thingiverse via a “Remix”, that did not add any significant value (all parts were completely unchanged). That made me really sad. If you want to seriously remix this design, please contact me.
Tags
Model origin
The author marked this model as their own original creation.


