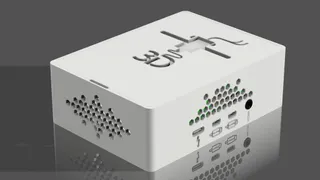
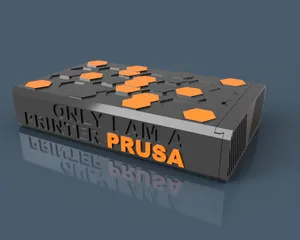
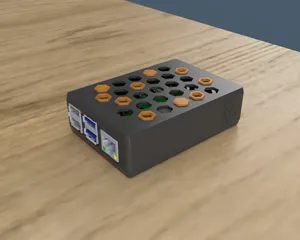
PRUSA MINI Raspberry Pi 4 B case and mount
Tired of your Raspberry Pi dangling around? Here's the solution ;-)
A cool and customizable case for your Raspberry Pi
175
764
31
5360
updated January 16, 2022
Description
PDFDesigned for Prusa MINI/MINI+
Main features
- Easy to attach and detach from 30x30 aluminum extrusion of the MINI's z axis, no screws are necessary!
- Easy access to the Pi's SD card, no more disassembly required!
- In case you are also using a PiCam module, a dedicated version featuring a hole for the flat cable is provided.
- The Pi case is divided in two halfs to insert the Pi easily and match perfectly with each other: attached via zero-gap Snap-fit joints.
If you like this design, please consider buying me a coffee to support me in the creation of many other useful designs as a sign of gratitude for the huge amount of time and effort. Thank you very much and happy printing!
Updates
13/02/2022: Redisegned T-Slot-Clip so that the PTFE tube does not interfere with the cables on the side of the Raspberry Pi (see picture below).

Printing
- Layer height: 0.2 mm;
- Material: PETG (recommended), PLA;
- Supports: Only for the MicroSD-cover overhangs;
- Orientation: the models are already in the proper orientation.
| In the Lower-case there's a 0.2 mm thick bridge to prevent the corners of SD card slot from falling making too difficult the insertion of the MicroSD-cover (see picture below). Once print finishes, just cut it out as if it were a support. |

Assembly
- Attach the T-Slot-clip to the alluminum extrusion;

- Insert the Pi into the Lower-case and secure it with four M2.5x4 mm screws;

- Slide the Upper-case into the T-slot-clip;

- Take the Lower-case with your Pi attached and join it to the Upper-case by simply pressing them together;

- Insert the MicroSD-cover into it's slot in the Lower-case;

- Insert the Hexagon or Hexagon-hole into their slots on the Lower-case in wichever pattern you like (you might need to glue them to the Lower-case depending on your printer accuracy);

- Now you're good to go ;-)

If you are looking for a universal RaspberryPi4/Octoprint case I suggest you to give a look at this design too: Raspberry Pi 4B/Octoprint Honeycomb case da JayCee09 | Scarica il modello STL gratuito | PrusaPrinters
Pro tips
- PETG can cause a little bit of strings, to remove them you may just use a wind-proof lighter and they will disappear magically ;-)
Tags
Model origin
The author marked this model as their own original creation.


